
Alok Menghrajani
Currently: security consulting and lecturer.
Previously: security engineering at Square Block. Co-author of Hack (the programming language) and put the 's' in https at Facebook Meta. Maker of various CTF puzzles.
This blog does not use any tracking cookies and does not serve any ads. Enjoy your anonymity; I have no idea who you are, where you came from, and where you are headed to. Keep the dream of an Internet from times past alive.
Home | Contact me | Github | RSS feed | Consulting services | Tools & games
There are many ways to build prototype circuits or small one off projects. In the past, I would sometimes see pictures of interesting approaches. However, without knowing the name of the circuit style, it was hard to further my knowledge about each technique. Hopefully, this page provides some useful information if you are in a similar situation.
Breadboard
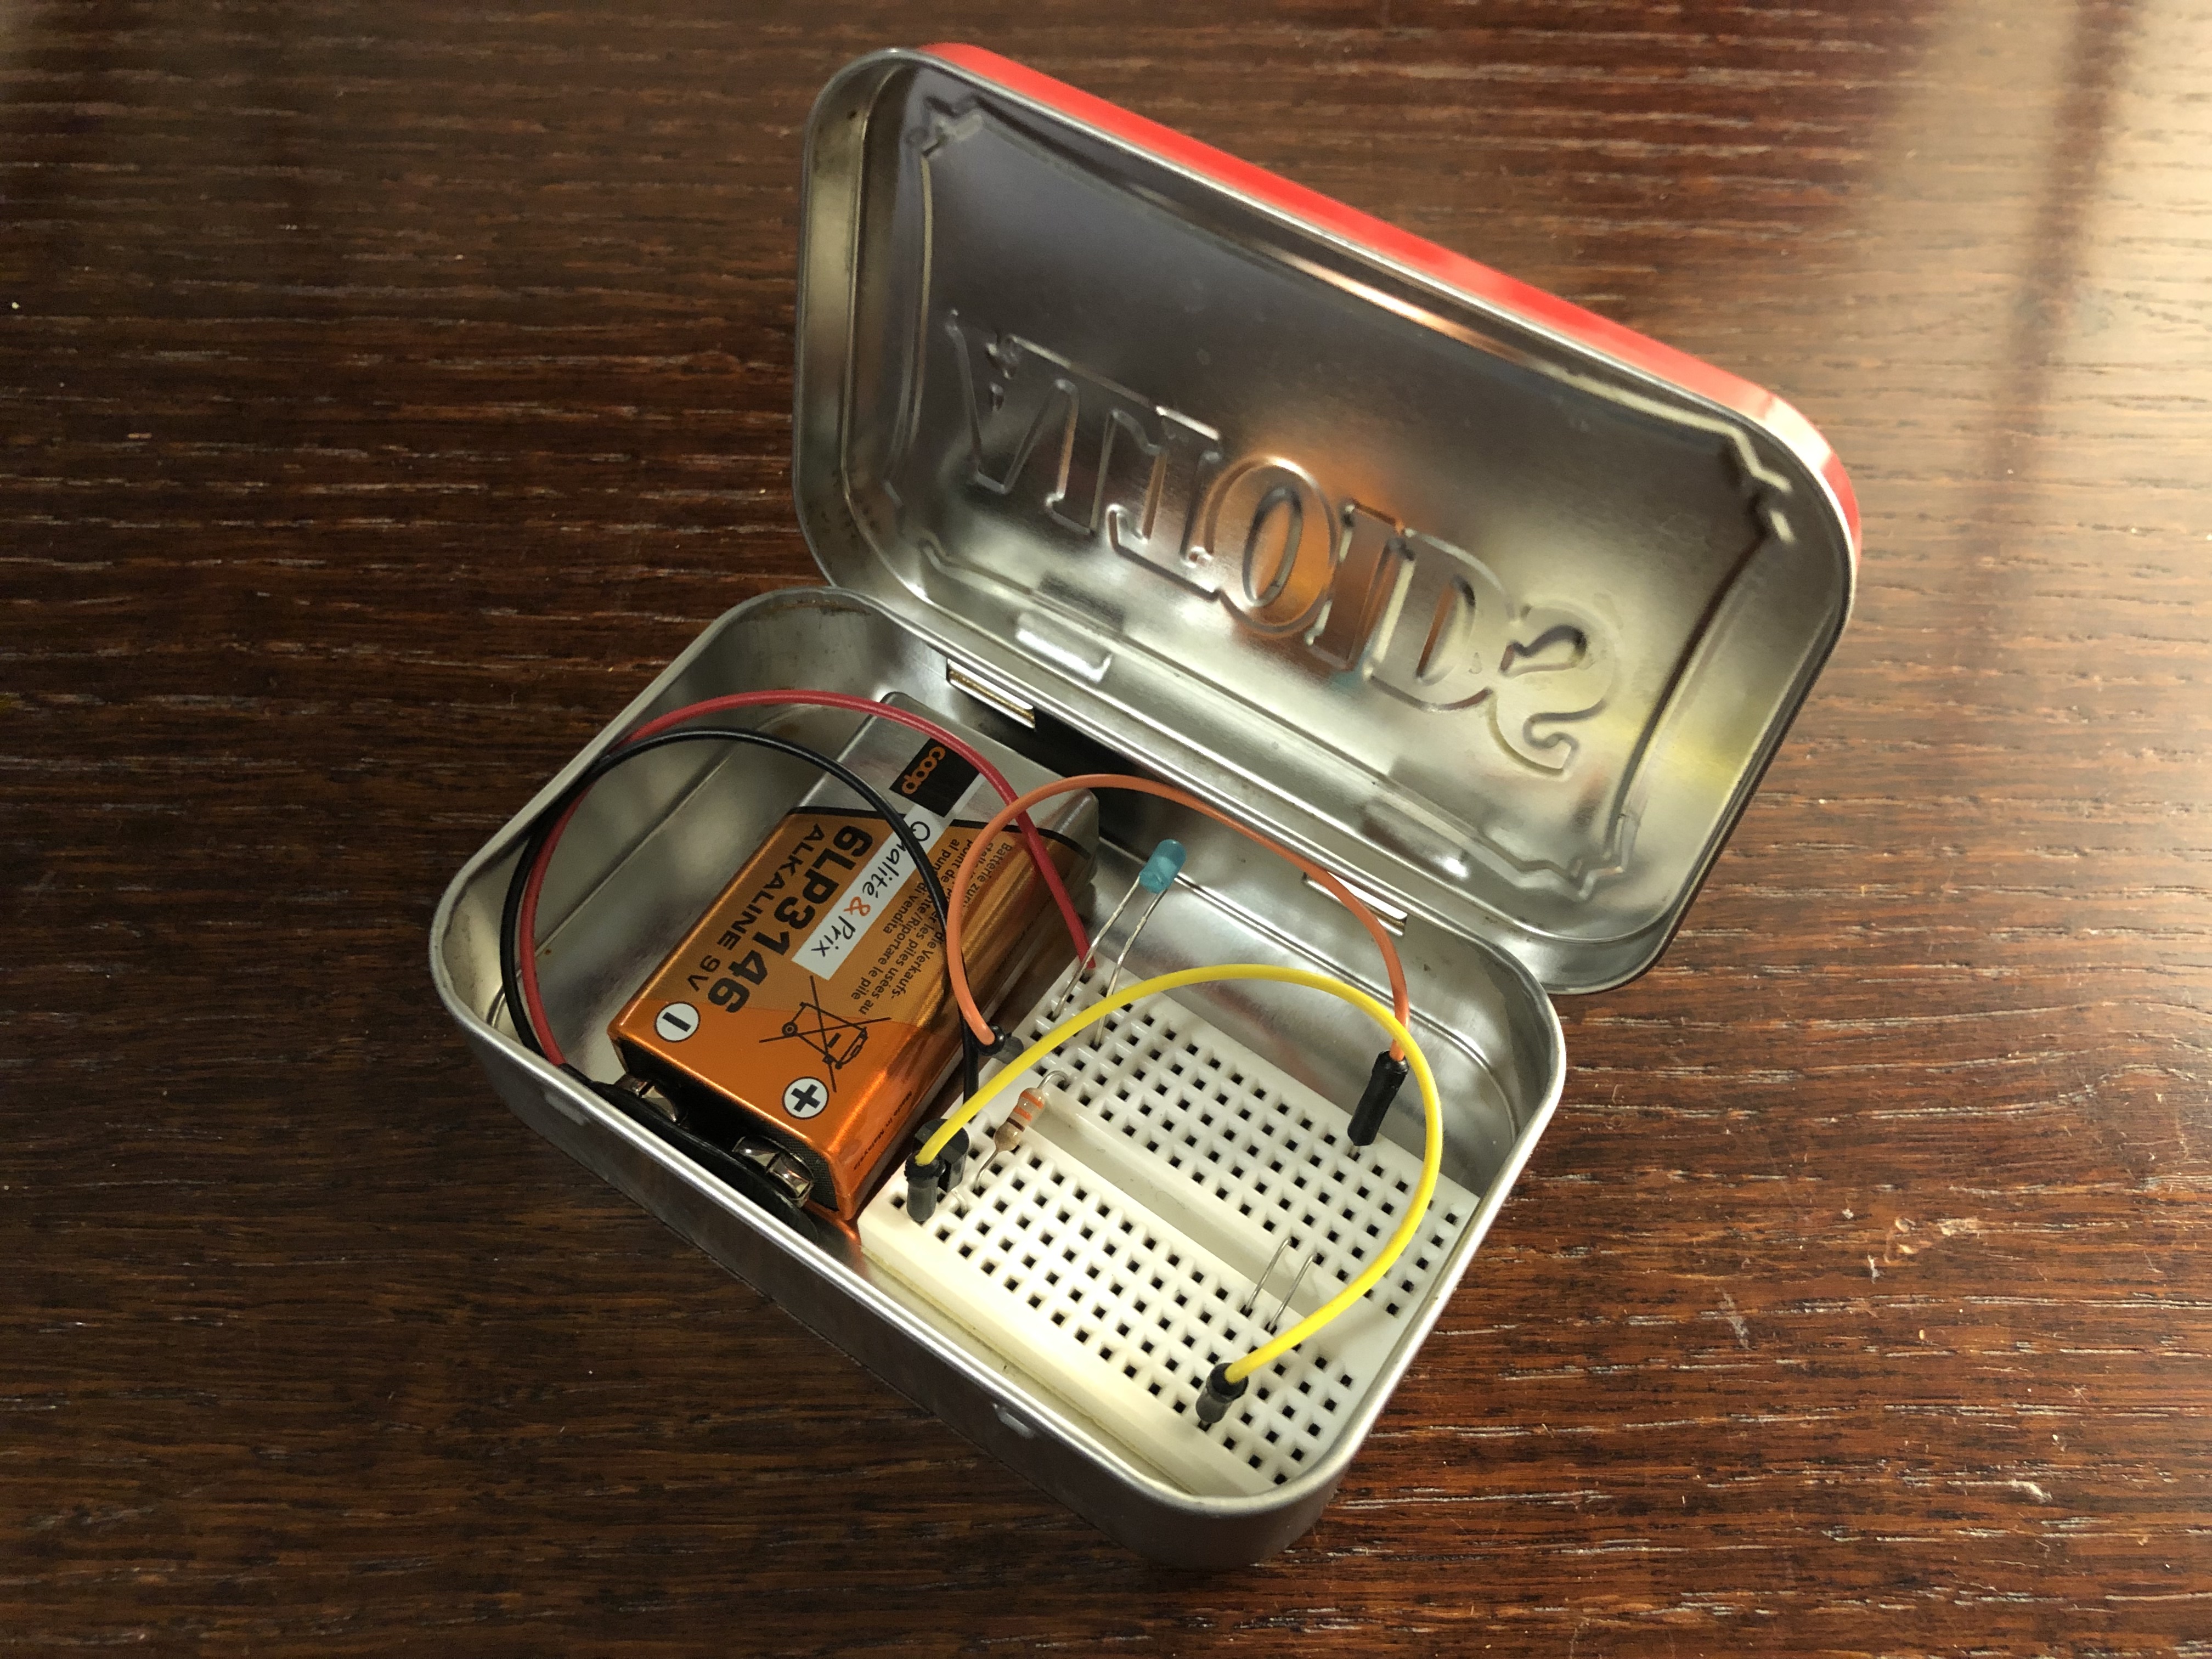
Breadboards are probably the easiest way to build temporary prototypes. I recommend buying lots of male/male jumper wires in different lengths and colors. Solid core wires are useful if you want tidy and easier to understand boards. Breadboards do add stray capacitance between adjacent rows, which becomes an issue once you are working with frequencies above a few MHz.
Read more on Wikipedia. Get a multimeter with thin probes that work with breadboards or build a workaround.
Perfboard
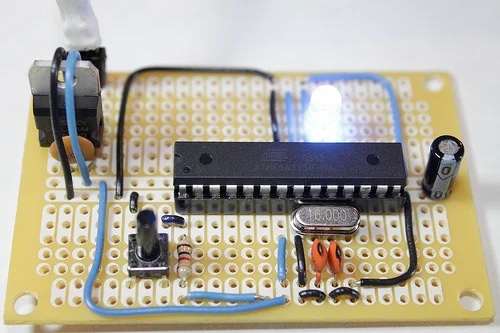 Photo credit: jmsaavedra
Perfboards might visually look like thin breadboards but each component is soldered. The result is a permanent prototype. Perfboards come in different styles (grid vs pads). You can also purchase perfboards with a matching enclosure.
While an older technique, some people still enjoy using wire wrap. It's a relatively fast and inexpensive way to design prototypes or one off boards. My limited understanding leads me to believe that tag boards, eyelet boards, and turret board were popular ways to wire wrap, but I could be wrong.
Stripboard
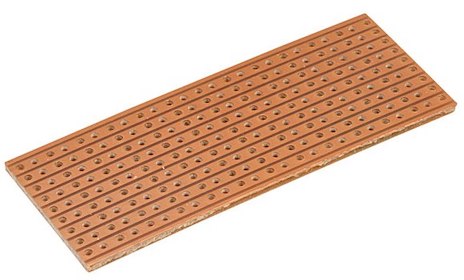
Also known as Veroboard, stripboards are related to perfboards but have long lines of interconnected pins. You typically cut breaks in the copper strips.
Manhattan style
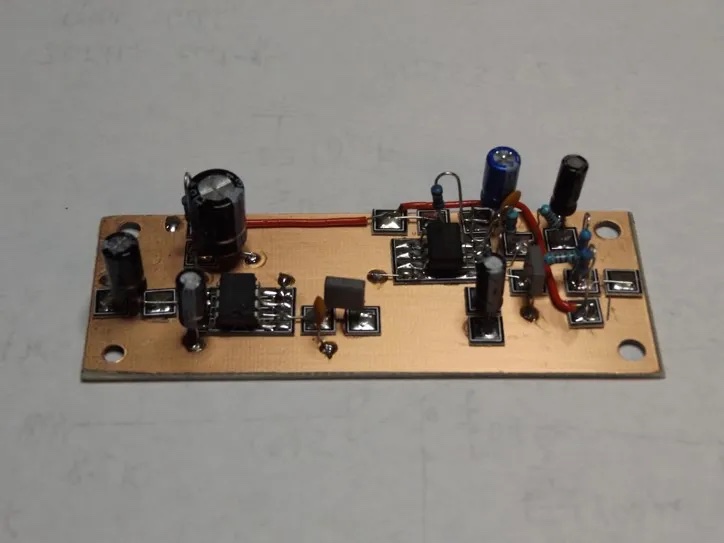 Photo credit: AA7EE
An older technique, popular in radio-related circuits. Components are directly soldered on a copper base.
This video is worth watching: how to make a simple AM radio
Muppet style
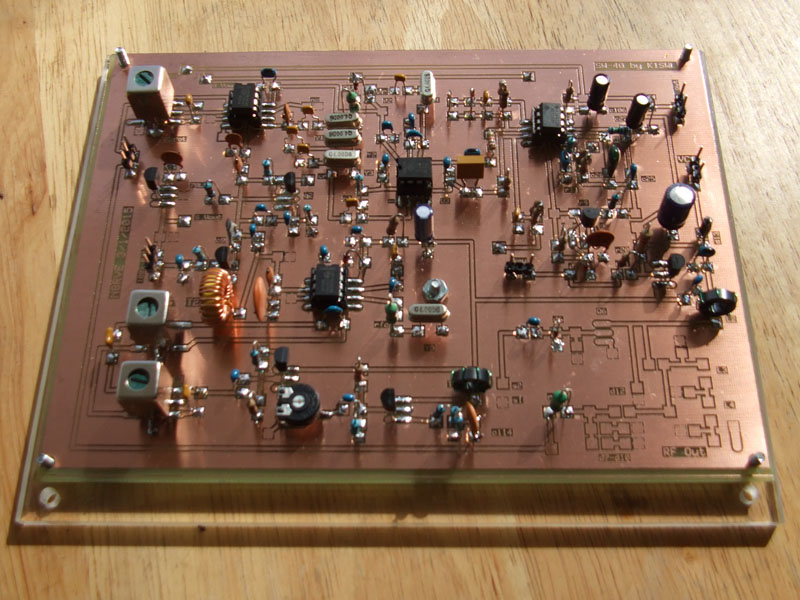 Photo credit: AA7EE
Similar to Manhattan but a PCB without any holes is first etched. Components are then soldered on the PCB. It's also been referred to as Pittsburg style.
Freeform
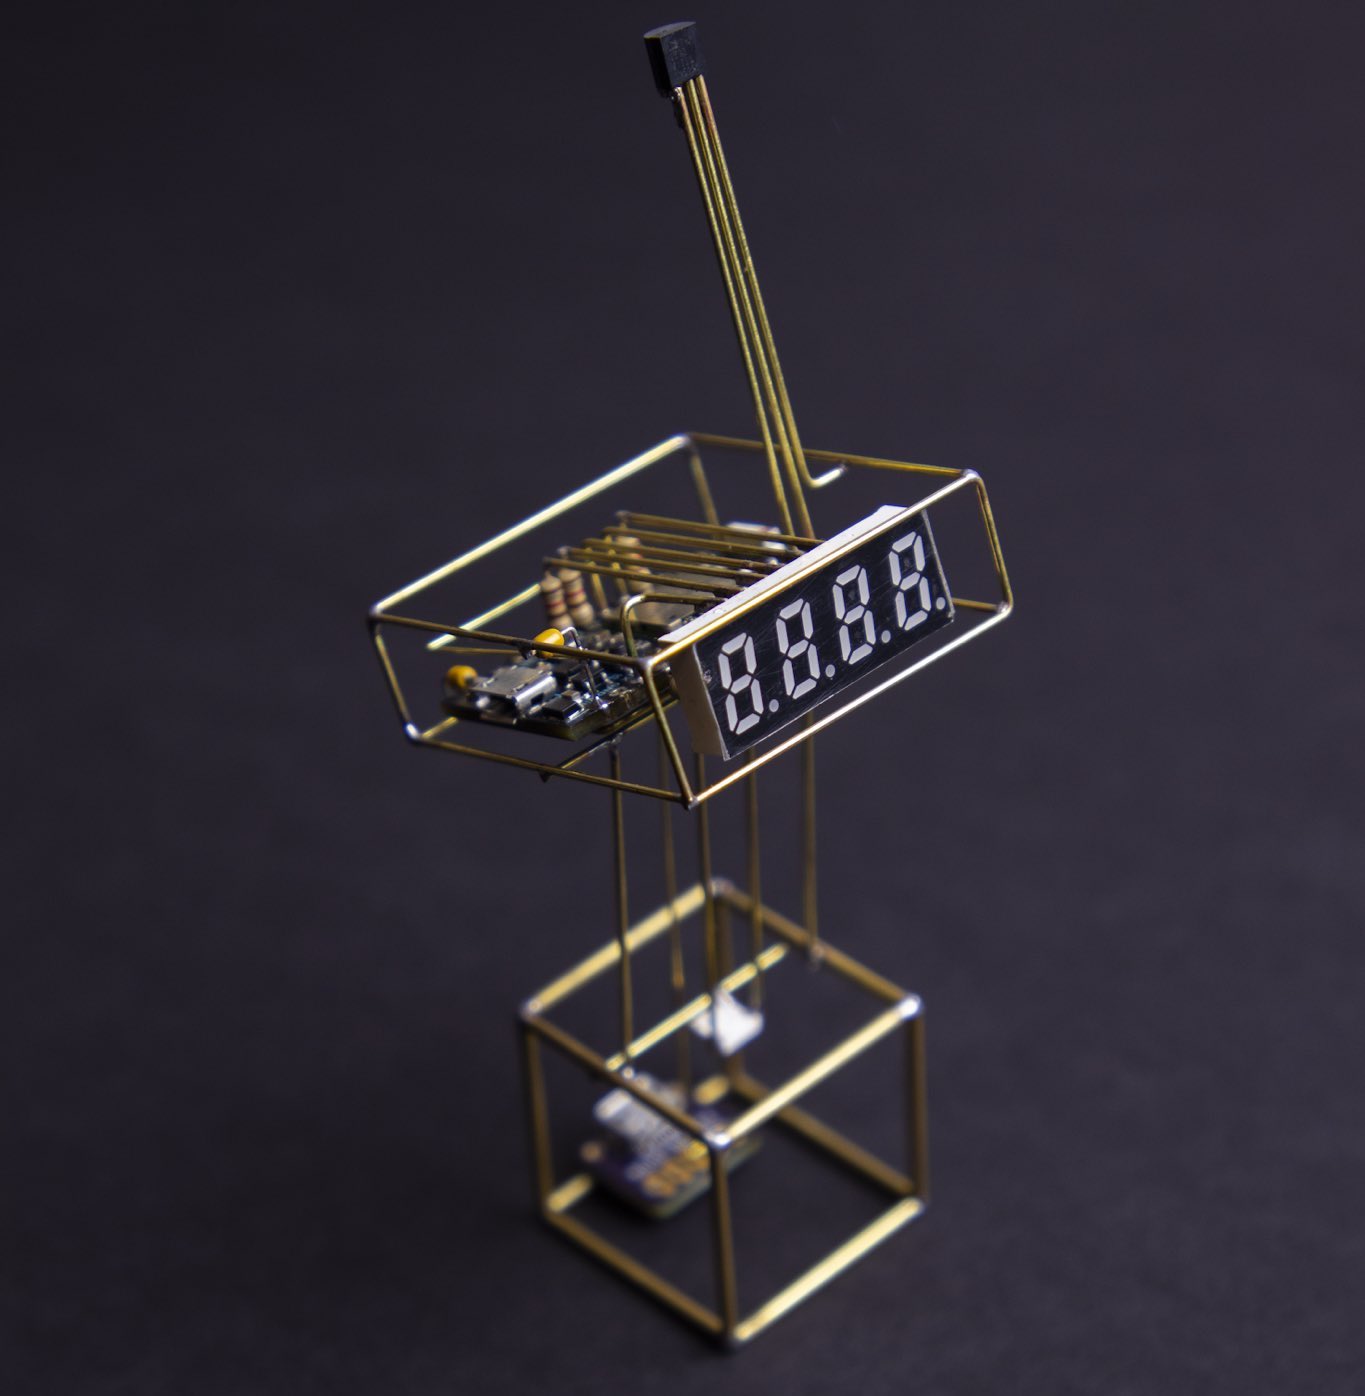 Photo credit: @MohitBhoite
These circuits have no base and are often very artistic. People have found ingenious ways to incorporate batteries in their freeform circuits. The concept is also known as "Deadbugs", discrete wiring, and point-to-point.
Printed Circuit Board (PCB)
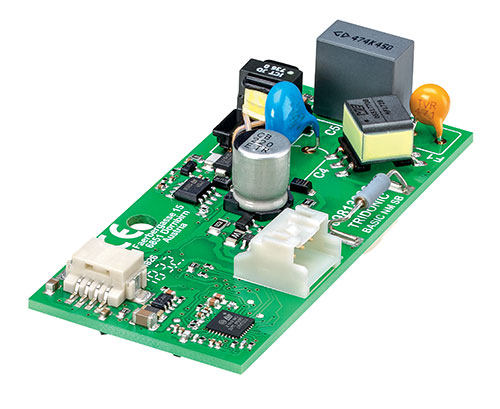
More involved, PCBs are the way to go if you want to easily create more than one copy of your circuit. It's also your main option once you start using surface mounted devices (SMD). Several companies enable low cost small batch manufacturing (e.g. print 3 identical small PCBs for $5). The turnaround time can however be a couple days. DIY PCB etching is a possibility but requires handling potentially hazardous chemicals.
Most PCBs are just functional but there's plenty of room for artistic expression.
And more…
You might come across esoteric circuits (such as wood PCBs with copper traces) or using Balsa. There are also circuits on paper using conductive ink.
Easier to use solutions include STEM toy and electronic kits. These usually cost more than buying individual components but are suited for children and begineers. These kits often have a useful booklet with project ideas. Some popular kits include Lego Mindstorms, Cubit, Snap Circuits, Little Bits, etc.
So many possibilities… Go build something!