
Alok Menghrajani
Currently: security consulting and lecturer.
Previously: security engineering at Square Block. Co-author of Hack (the programming language) and put the 's' in https at Facebook Meta. Maker of various CTF puzzles.
This blog does not use any tracking cookies and does not serve any ads. Enjoy your anonymity; I have no idea who you are, where you came from, and where you are headed to. Keep the dream of an Internet from times past alive.
Home | Contact me | Github | RSS feed | Consulting services | Tools & games
Blender is a free and open source software for 3D modeling. Supported platforms include Windows, Mac, and Linux. I revisited an old project of mine from a few years ago with the purpose of learning some basics of Blender. This article explains the design and 3D printing of a custom chess set.
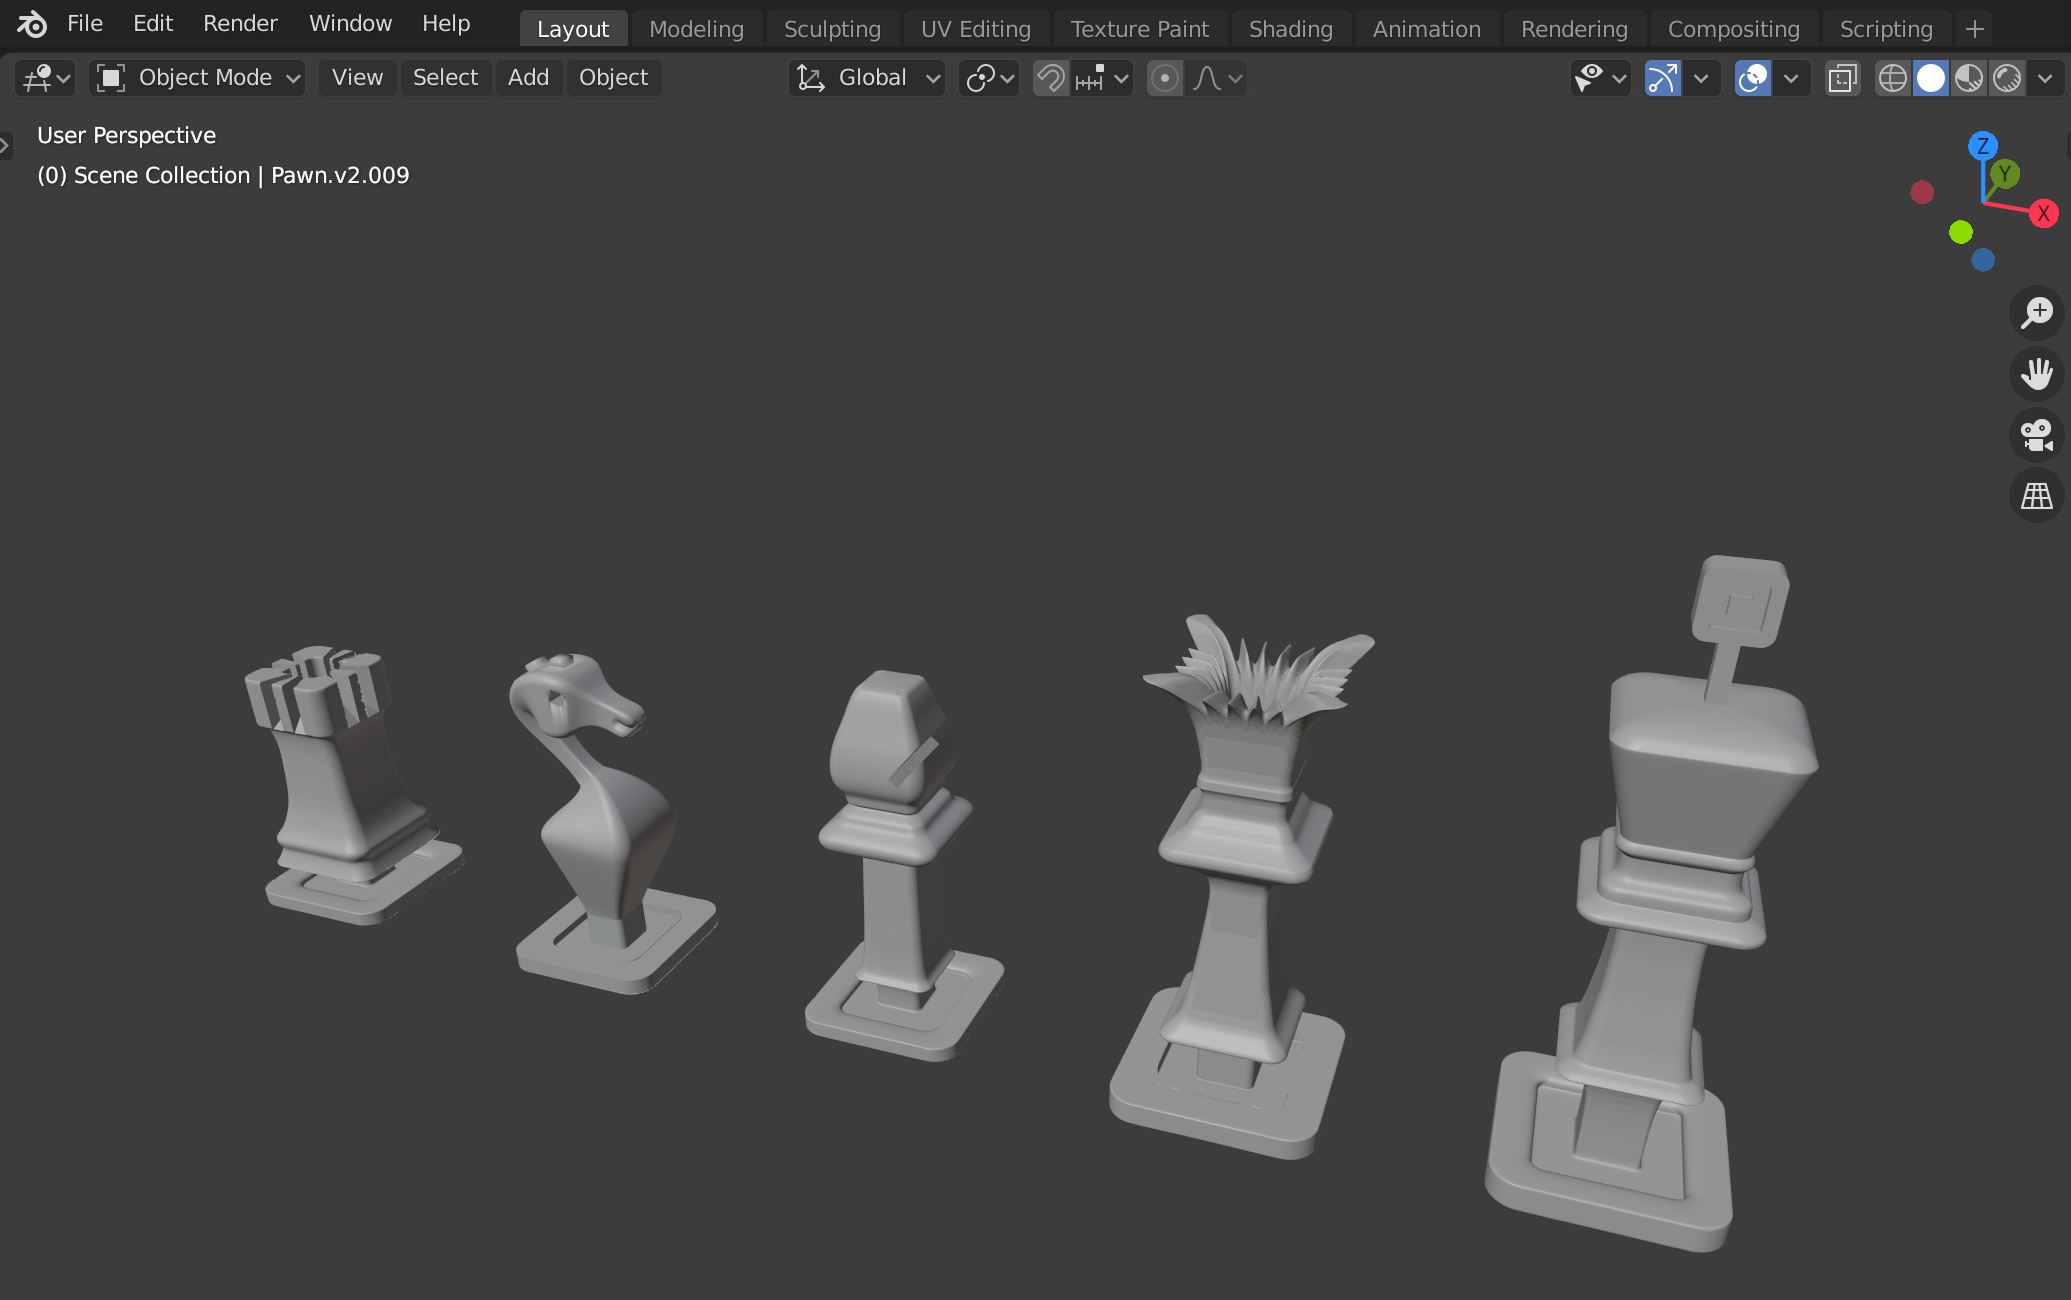
An efficient way to learn Blender is to watch various Youtube tutorials. Most are short and focus on a specific skill. For example, Blender 2.8 Beginner 3D Modeling Tutorial explains the user interface as well as basic modeling techniques, which enabled me to model the king, bishop, and pawn. Modeling with curves: wires and pipes gave me the knowledge to model the knight by leveraging Bezier curves. Finally, the rook and queen required creating cuts in the model, a skill explained in Objects & Mesh Editing A Simple Character In Blender.
My pieces are roughly the same height as a standard Staunton set. Each piece is Square-ish and has an equal base surface area as its standard counter part. Chess sets typically come with weights. Holes to house weights were therefore poked using boolean modifiers. If you are interested to design your own chess set, the following table lists approximate measurments:
| piece | dimensions | weight |
|---|---|---|
| pawn | ⌀ 27mm x 46mm | 14g |
| rook | ⌀ 32mm x 47mm | 35g |
| knight | ⌀ 32mm x 58mm | 35g |
| bishop | ⌀ 32mm x 63mm | 27g |
| queen | ⌀ 36mm x 76mm | 46g |
| king | ⌀ 37mm x 96mm | 55g |
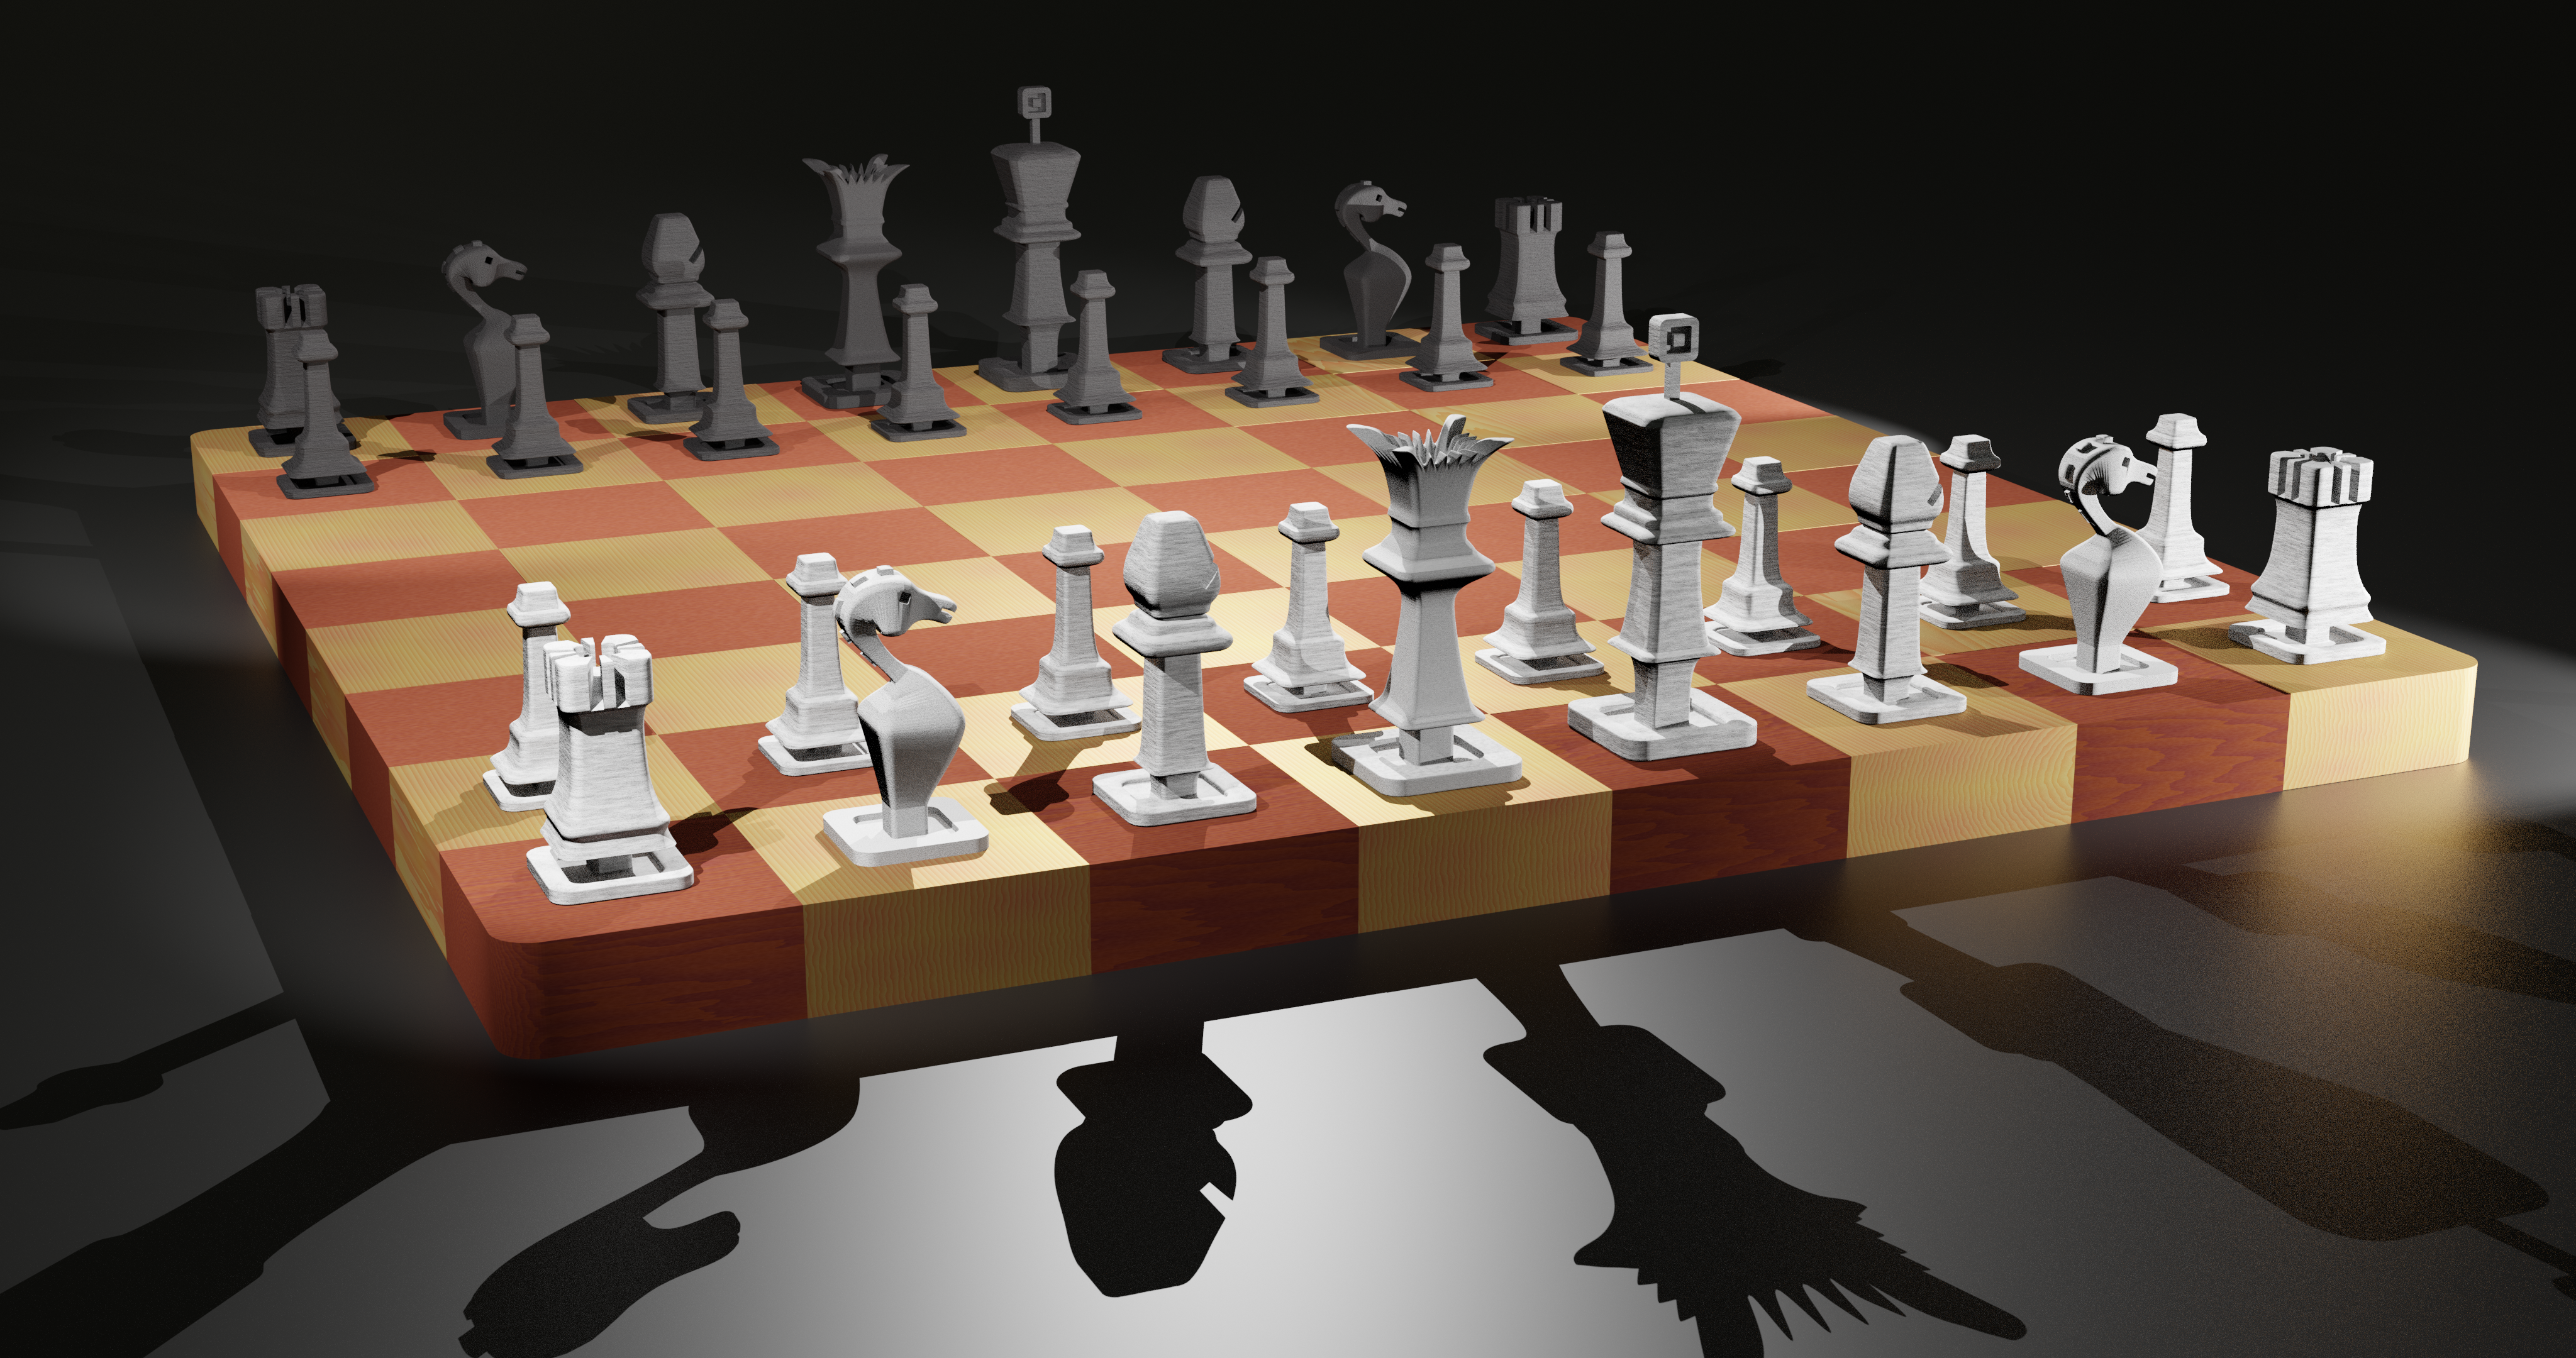
While rendering a final image in Blender wasn't a priority, the following image shows the result of placing the pieces on a board with custom textures and some basic lighting. The lighting, far from ideal, is the hardest part to master. The board is inspired by Making an end grain chessboard, a video showcasing beautiful craftsmanship.
I don't own a 3D printer, so various printing services were compared for price: Shapeways, i.materialise, 3D Hubs, Xometry, Craftcloud, and Sculpteo. The prices varied by over a factor 5x, so make sure to shop around if you ever need a 3D printing service! The material you pick plays a significant role, with PLA being one the cheapest and resin/metals being more expensive. If you are 3D printing at home, make sure to properly vent the room where you print — you don't want to be breathing any toxic fumes!
Chess pieces typically use lead (Pb) or ferrite to add weight to them. I decided to explore tungsten (W) since lead is toxic. Tungsten is also among the densest materials available, resulting in nicely weighted pieces. For reference, tungsten's density is 19 g/cm³ while lead is about 11 g/cm³, bismuth 10 g/cm³, stainless steel 8 g/cm³, and common magnets are typically 5-8 g/cm³ depending if ferrite, neodymium, or samarium-cobalt is used.
Tungsten is however difficult to work with; I don't have the necessary tools to cut, sand, or shape it. I decided to use Alibaba to contact tungsten suppliers in China and have the material cut to exact specifications. The quotes for 5mm rods cut to 20mm and 30mm lengths ranged from $89 to $200 for 1.5 kg of pure tungsten. The cheapest supplier was chosen since the weights aren't visible.
Total time+money: ~1 week to learn Blender, ~2 days to model the pieces, ~1 day to compare prices across 3D printing services, ~1 day to contact tungsten suppliers, $85 for printing pieces, $89 for weights (yes the weights cost more than the pieces!). Overall, the chess set turned out fairly expensive (a giant lawn set could have been purchased for the same price) but it's the price to pay for custom manufacturing ¯\_(ツ)_/¯. Picture of the finished project:
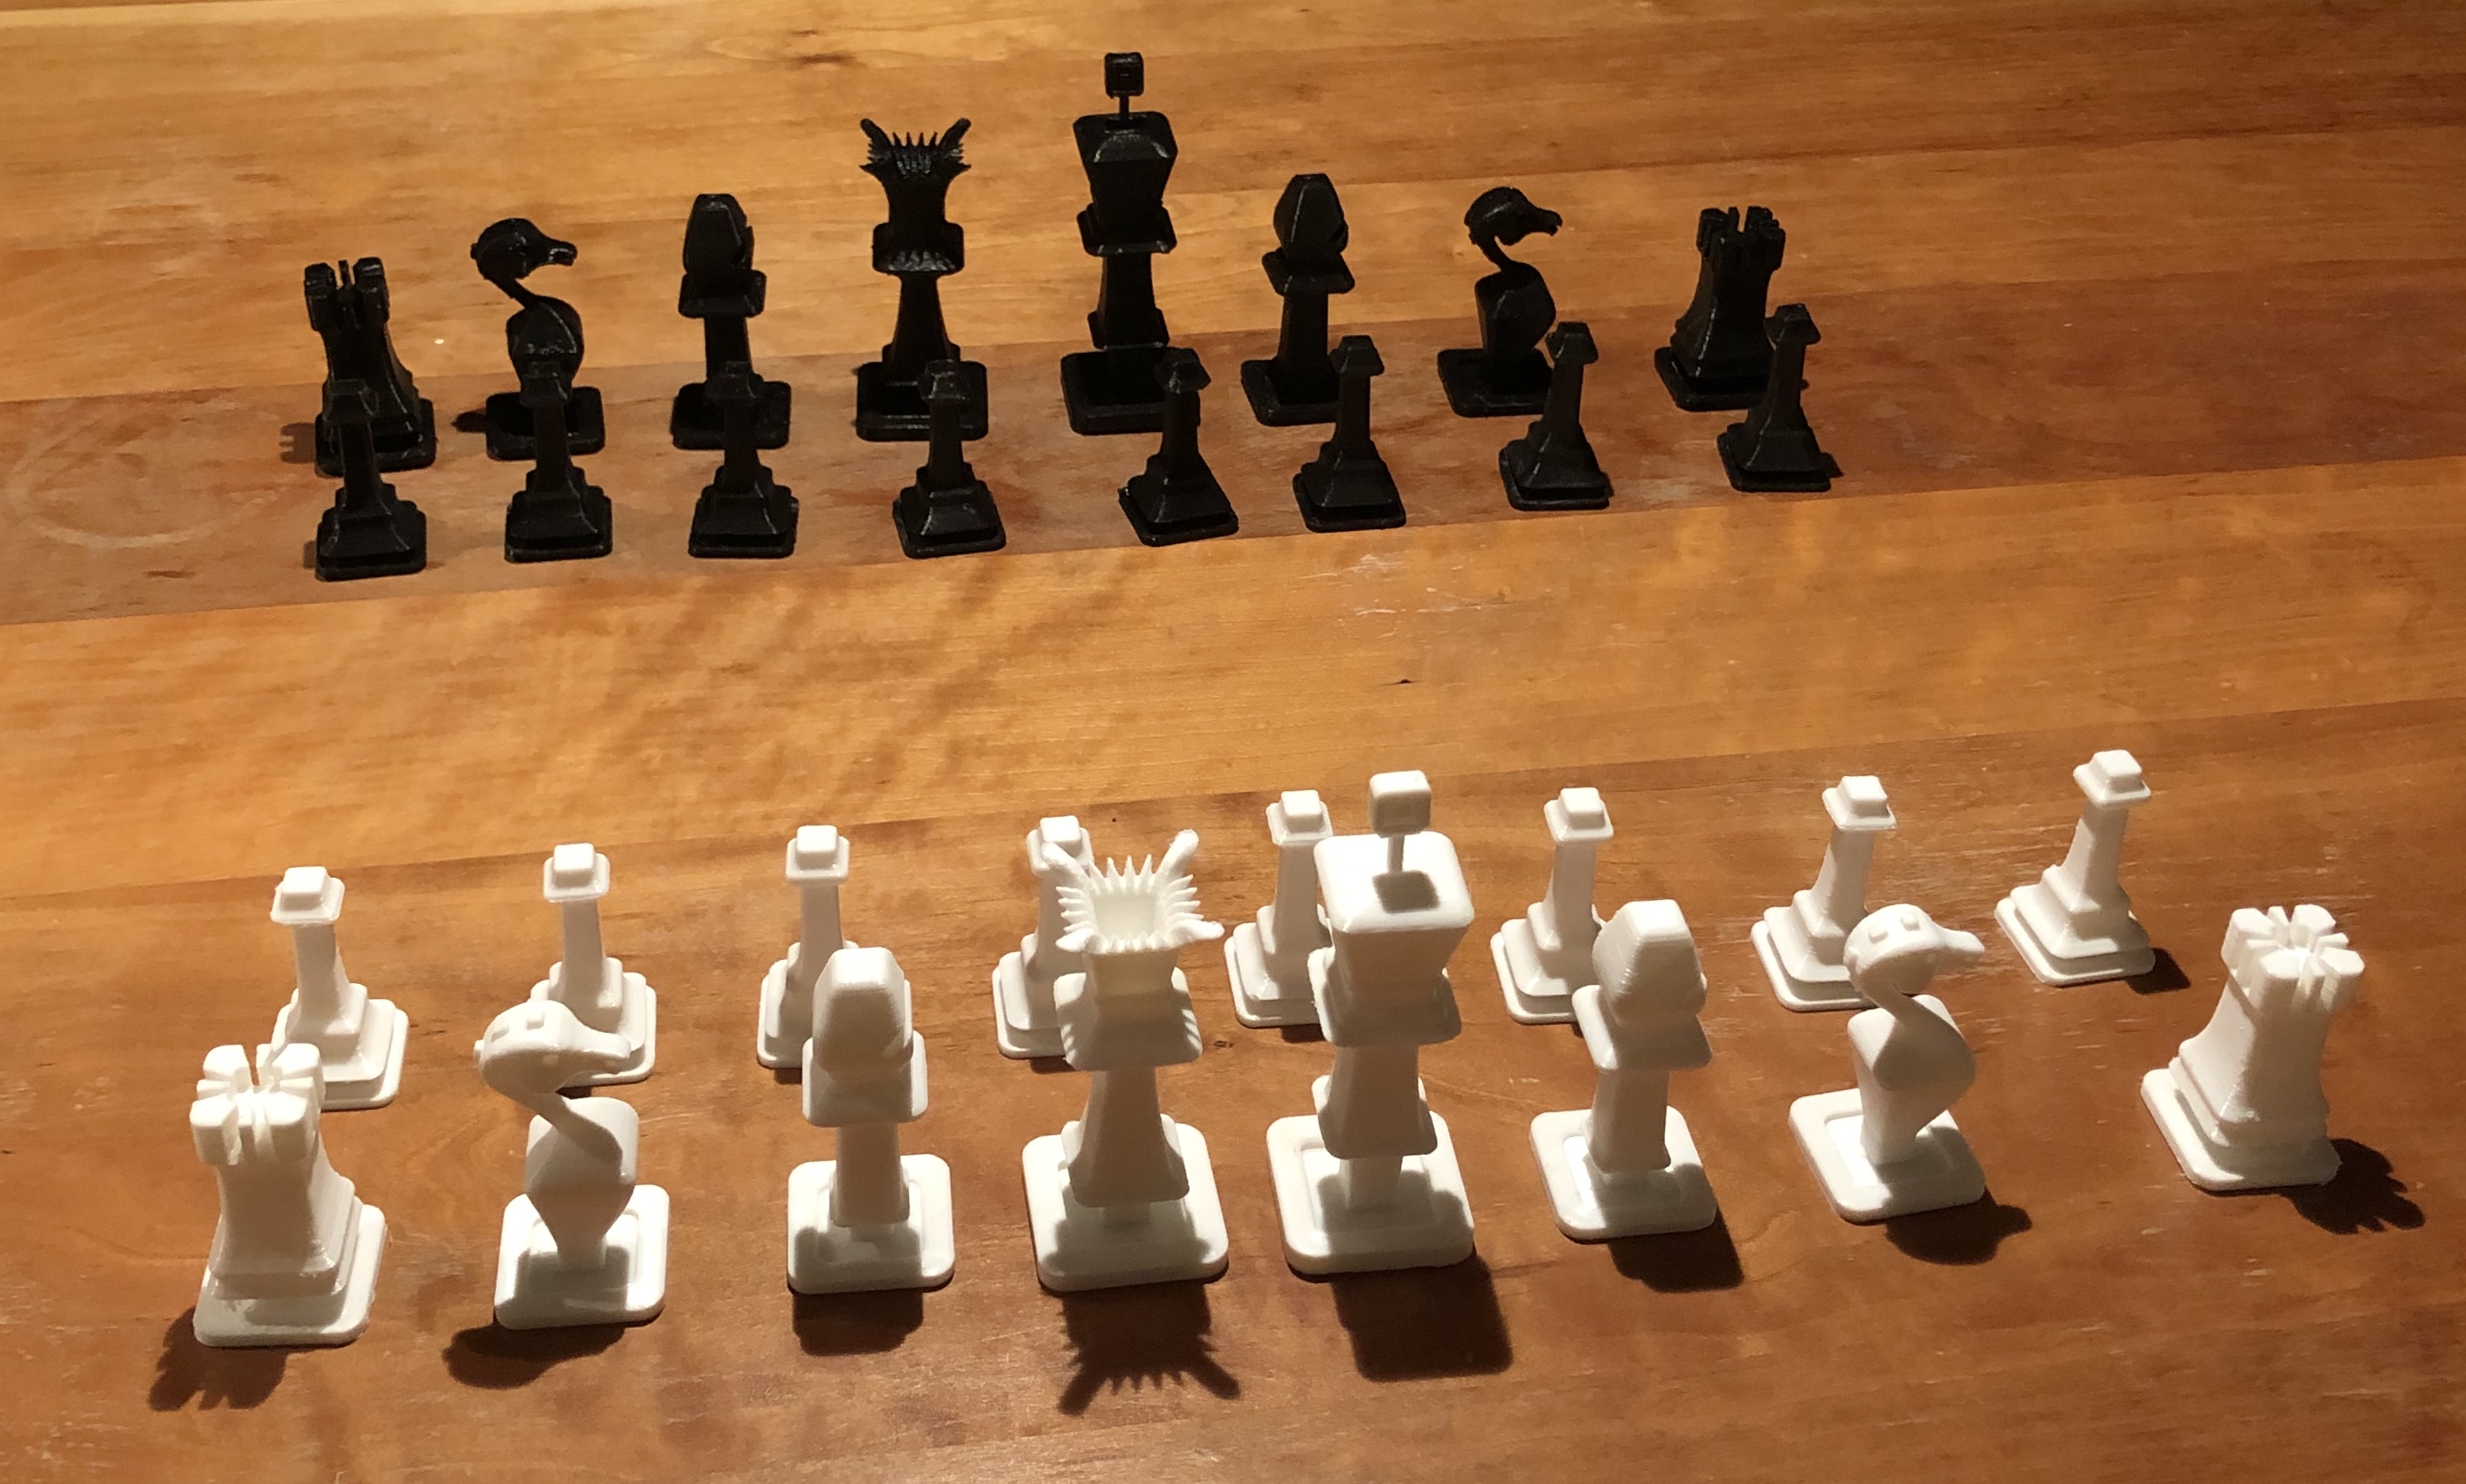
The goal of learning basic Blender and 3D modeling skills was achieved. Being able to manufacter something without leaving your home feels magical!
Download the custom set as STL or Blender files.
(note: if you are doing a similar project and are thin on the money side, you might want to consider 3D printing molds and then making pieces out of resin or even concrete!)
Other 3D modeling related tools worth checking out include Onshape (web based), FreeCAD (Windows, Mac, Linux), Tinkercad (web based), and OpenSCAD (Windows, Mac, Linux).